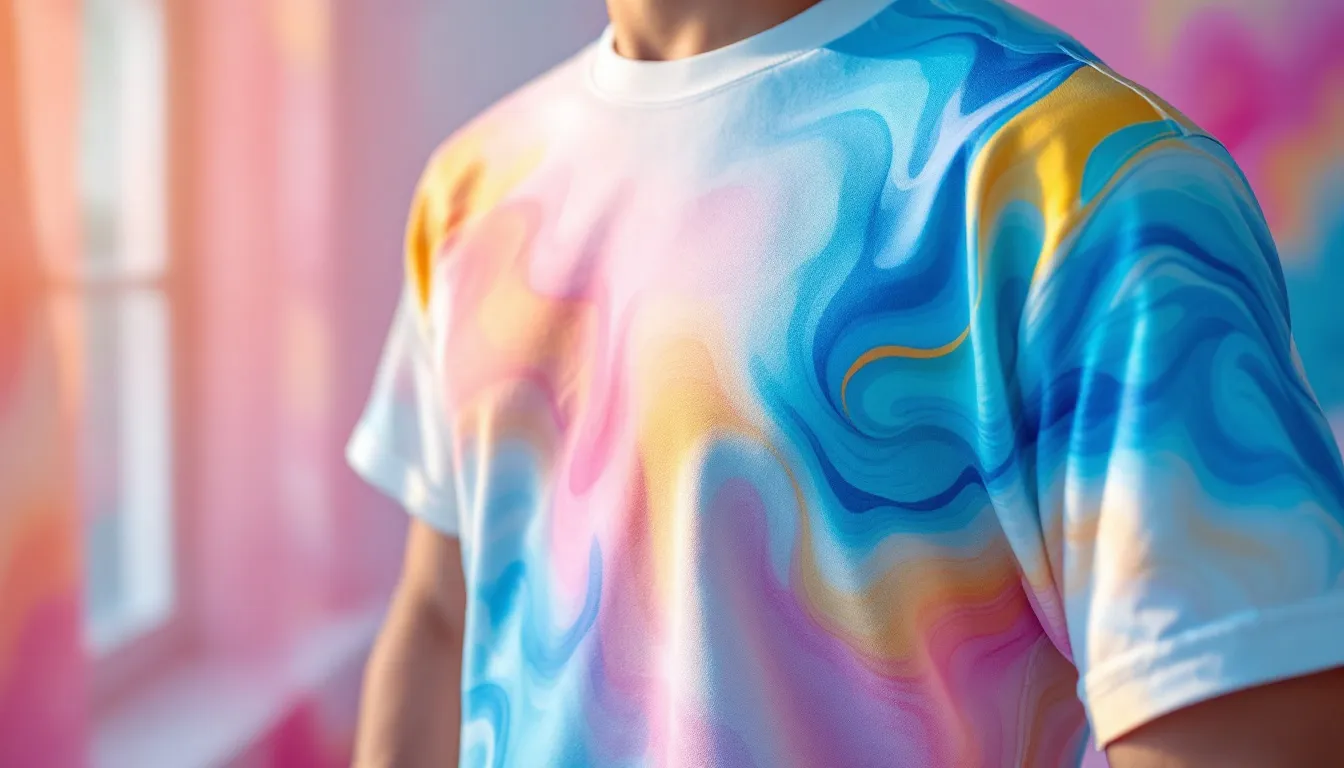
3 Tips for Perfecting Puff Printing on Custom T-Shirts
Want to make your custom t-shirts pop? Puff printing is your secret weapon. Here's what you need to know:
-
Pick the right materials:
- Cotton fabrics work best
- Mix puff additive with plastisol ink (15-20%)
- Use low mesh count screens (60-90)
-
Master the printing technique:
- Apply thick ink layers
- Use a firm squeegee
- Flash between colors for multi-color designs
-
Nail the curing process:
- Cure at 320°F for 60 seconds
- Lay garments flat to prevent wrinkles
- Use a conveyor dryer or heat press for even heat
Quick Comparison:
| Aspect | Regular Printing | Puff Printing |
|---|---|---|
| Texture | Flat | Raised, 3D effect |
| Ink | Standard plastisol | Plastisol + puff additive |
| Mesh count | Higher (110+) | Lower (60-90) |
| Curing temp | Varies | 320°F |
| Best for | Detailed designs | Bold, simple designs |
Puff printing isn't rocket science, but it does take some know-how. Stick to bold, simple designs for the best results. With practice, you'll be creating eye-catching, touchable prints in no time.
Related video from YouTube
What is puff printing?
Puff printing makes designs pop - literally. It's a screen printing method that creates raised, 3D effects on fabric.
Here's how it works:
- Mix special ink with a foaming agent
- Print the design on fabric
- Heat it up
The heat makes the ink expand, giving you a puffy, textured look.
The puff process
Puff printing isn't rocket science, but it does take some know-how:
1. Mix puff additive with plastisol ink (5-15% ratio)
You're basically making ink that can rise like bread dough.
2. Screen print the design
Just like regular screen printing, but with your special puff mix.
3. Heat it up
This is where the magic happens. The heat activates the foaming agent.
4. Cure the garment
This sets the design so it'll last.
Cotton and cotton blends work best. They can handle the heat without melting.
Controlling the puff
Want more puff? Less puff? You've got options:
- Adjust the puff-to-ink ratio
- Use a different screen mesh count
- Tweak the curing temperature and time
It's like baking - small changes can make a big difference.
Puff printing: The good and the bad
| Pros | Cons |
|---|---|
| Adds depth and texture | Limited detail in designs |
| Unique tactile feel | Fewer color options |
| Works on various fabrics | Not for intricate patterns |
| Durable when done right | Pricier than regular printing |
| Eye-catching | Needs precise temperature control |
Puff printing shines with bold, simple designs. It's not your go-to for fine details or complex art.
But get it right, and your puff prints can survive 50-80 washes without cracking or fading. That's some serious staying power for your custom tees.
1. Pick the right materials
Puff printing success starts with the right materials. Here's what you need to know:
Best fabrics for puff printing
Cotton is your go-to fabric. Why?
- Soaks up ink like a sponge
- Handles heat well
- Won't break the bank
- Feels great on the skin
Cotton-poly blends work too, but pure cotton is best.
"Watch out for shrinkage with cotton shirts. Size up to avoid a tight fit after washing."
Steer clear of 100% synthetics like polyester or spandex. They don't mix well with puff ink.
Best inks to use
For puff printing, you'll need:
- Plastisol ink
- Puff additive (5-15% mix)
Blend these two, and you're set. The puff additive creates that cool 3D effect.
| Ink Type | Pros | Cons |
|---|---|---|
| Plastisol + Puff Additive | 3D effect, soft feel, versatile | Less detail, needs precise heat |
| Regular Plastisol | Bright colors, tough | No 3D effect |
Choosing the right mesh count
Mesh count controls ink flow. For puff printing:
- Go low (60-90 count)
- More ink gets through
- Result? Higher, puffier prints
The thicker the ink, the lower the mesh count you'll need.
"Want a heavy ink deposit? Use an 18-43cm (45-110 inch) mesh size. But heads up: your edges might get a bit fuzzy."
2. Master the Puff Printing Technique
Ready to create that perfect raised effect? Let's dive into the puff printing process.
Prep Your Screen
For puff printing, you'll need:
- A low mesh count screen (43t or 110 US)
- Multiple layers of high build emulsion
This combo lets you deposit more ink, giving you that sweet puff effect.
Apply the Ink
Puff ink application is its own beast:
- Mix plastisol ink with 5-15% puff additive
- Use a firm squeegee
- Apply a thicker ink layer than usual
"Stick to thick lines and minimal small details for the best puff print", says John Doe, a 20-year screen printing vet.
Handle Multi-Color Designs
Working with multiple colors? You'll need to flash between layers:
- Print first color
- Flash dry (don't fully cure)
- Print next color
- Repeat for each color
Pro tip: A lower mesh count might help you skip flashing altogether.
| Mesh Count | Pros | Cons |
|---|---|---|
| Lower (21t) | Higher puff, no flashing | Less detail |
| Higher (43t) | More detail possible | May need flashing |
3. Get the curing process right
Curing is the final step in puff printing. It's not just about drying ink - it's a chemical process that bonds ink to fabric. Without proper curing, your print might wash away, crack, or fail to puff up.
Here's a quick guide to curing temperatures and times:
| Ink Type | Temperature | Time |
|---|---|---|
| Water-based | 320°F | 3 minutes |
| Plastisol | 270-330°F | 1 minute |
| Low-cure | 280°F | Varies |
Always check your ink's packaging for specific instructions.
Common curing mistakes to avoid:
- Under-curing: Ink washes away, cracks when stretched, or doesn't puff up.
- Over-curing: Loss of puff texture or scorched fabric.
- Uneven curing: Use a conveyor dryer or heat press for even heat distribution.
- Wrong temperature: Use a laser temperature gun to check ink temperature during curing.
- Rushing: Give prints enough time in the heat.
"If the design is even slightly wrinkled during curing, it can ruin the print quality", warns Green Galaxy, a leading ink manufacturer.
Remember: Lay garments flat to prevent wrinkles and dips in the puff effect. It's better to cure a bit longer than to under-cure.
sbb-itb-6f489d9
Tips for better puff printing
Design tips for puff printing
When designing for puff printing, keep it simple:
- Go for bold, large elements
- Skip the tiny details
- Pick thick fonts
- Leave room for the ink to expand
Colin Huggins, a pro printer, pulled off a detailed design with 15% puff additive:
"The print had amazing detail and loft. It shows you can get intricate designs and a noticeable puff effect with the right technique."
Mixing puff additive and ink
For the best puff ink mix:
- Add up to 20% puff additive to plastisol ink (15% for fine details)
- Use the same brand for both
- Mix it well
Here's a quick puff ink recipe:
| Ingredient | Percentage |
|---|---|
| Super Stretch Clear | 77% |
| Puff additive | 18% |
| Color of choice | 5% |
Controlling puff height
Want to adjust your puff height? Try these:
- Use a 43t (110 US) mesh or lower for higher puff
- Add more ink for more height
- Try print-flash-print for extra loft
- Layer high-build emulsion for extreme effects
Remember: Bold designs puff up more than thin, detailed ones.
"Our test print showed a big height difference between bold images and thin lines, even with the same ink, mesh, and heat", says a puff printing expert from a top ink maker.
Fixing common puff printing problems
Puff printing can be tricky. Here's how to fix the main issues:
Cracking and peeling
Got cracked prints? Try these:
- Iron method: Cover with baking paper, press with iron. Often revives the puff.
- Paint touch-up: For stubborn cracks, mix paint with refractive media, apply to shirt, add standard media layer, let dry.
Color bleed
Color bleed ruins designs. Prevent it:
| Method | How it works |
|---|---|
| Low-temp inks | Cure under 300°F |
| Dye blockers | Create ink-shirt barrier |
| Dark underbase | Use black ink base |
Rob Coleman from Nazdar SourceOne says: "Dye migration is kind of like the hidden killer."
Uneven puff height
Make your design look pro:
- Use 43t (110 US) mesh
- Add up to 20% puff additive
- Print-flash-print for extra loft
Colin Huggins suggests:
"Layer high-build emulsion and use a lower mesh count like 21t. This gives thicker, more even ink distribution."
Lay garments flat while curing to avoid dips and shiny spots.
Caring for puff-printed shirts
Puff-printed shirts look cool, but they need special care. Here's how to keep them looking great:
Washing and drying tips
Wash your puff-printed shirts with care:
- Use cold water
- Turn inside out
- Use gentle cycle
- Skip fabric softener
For drying:
- Air-dry (best option)
- No ironing on the print
| Do's | Don'ts |
|---|---|
| Cold water wash | Hot water wash |
| Inside out | Wash with rough fabrics |
| Gentle cycle | Use fabric softener |
| Air-dry | High heat dry |
| Iron inside out (if needed) | Iron on print |
Storing puff-printed shirts
Store your shirts right:
- Clean and dry before storing
- Fold flat in a drawer or shelf
- Keep in a cool, dark place
- Use breathable bags for long-term storage
Remember: Treat your puff prints gently, and they'll stay plump and pristine.
Wrap-up
Puff printing can make your custom t-shirts pop. Here's what you need to know:
- Cotton fabrics work best
- Mix puff additive with plastisol ink (15-20%)
- Use bold, simple designs
- Print with lower mesh count (43t or 86)
- Cure at 320°F for 60 seconds
Ready to try it? Start simple, experiment, and mix puff ink with standard inks for contrast.
"Don't be afraid to make mistakes. Use your imagination and have fun with high-detail puff printing." - Colin Huggins, Print Expert
Remember: practice makes perfect. The more you experiment, the better your puff prints will become.
FAQs
How to get puff print on clothes?
Getting puff print on clothes is easy. Here's the deal:
- Grab a heat press and puff ink transfers
- Apply them like regular screen printed transfers
- That's it - no additives needed
Puff printing works on t-shirts, sweatshirts, and more. It creates a cool 3D effect that makes your designs pop.
"You can print puff inks, too, on t-shirts, sweatshirts, and more by just using a heat press and puff ink transfers." - Real Thread
Want your puff prints to last? Do this:
- Wash inside out in cold water
- Skip harsh detergents and bleach
- Air dry or use low heat in the dryer
Simple, right? Now you're ready to create some eye-catching puff prints on your clothes.